TorchServe入门-quickstart
本文最后更新于:2023年11月2日 下午
环境
- linux ubuntu22.04, x86-64 (理论上可以安装 docker 的环境均可, 架构不限)
- cpu only
torch serve 介绍
随便网上抄一句…
TorchServe是一个轻量级的模型服务器,可以轻松地将PyTorch模型部署为RESTful API或TorchServe的自定义格式。 它支持多模型管理,自动扩展和生命周期管理,可以快速部署和管理模型。 TorchServe还支持模型推理缓存、异步推理和自定义处理程序,可以根据需求自由配置。
1 - 创建 docker compose
对应的 docker compose:
1 | |
- 其中
examples对应: https://github.com/pytorch/serve/tree/master/examples model-store对应mar文件 (mar文件: 使用 torchserve archiver 压缩后的模型, 包括了 trained model, inference handler 和 model handler)
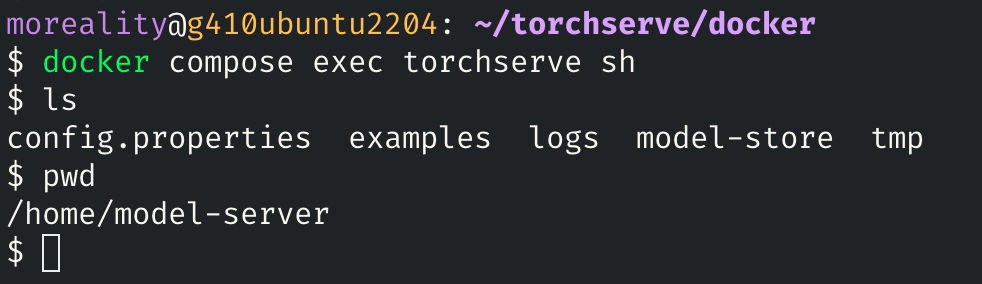
2 - 进入容器的方式
进入容器
1 | |
3 - 下载模型权重
进入到 docker-compose.yml 所在目录, 执行:
1 | |

4 - 运行 torch model archiver (在容器中)
1 | |
然后在 ./model-store 下会出现打包好的 densenet161.mar:

A key feature of TorchServe is the ability to package all model artifacts into a single model archive file. It is a separate command line interface (CLI), torch-model-archiver, that can take model checkpoints or model definition file with state_dict, and package them into a .mar file. This file can then be redistributed and served by anyone using TorchServe. It takes in the following model artifacts: a model checkpoint file in case of torchscript or a model definition file and a state_dict file in case of eager mode, and other optional assets that may be required to serve the model. The CLI creates a .mar file that TorchServe’s server CLI uses to serve the models.
TorchServe 的一个关键功能是能够将所有模型工件打包到单个模型存档文件中。它是一个单独的命令行界面 (CLI)
torch-model-archiver,可以使用 state_dict 获取模型检查点或模型定义文件,并将它们打包到.mar文件中。然后,任何使用 TorchServe 的人都可以重新分发和提供该文件。它包含以下模型工件:在 torchscript 的情况下为模型检查点文件,在 eager 模式下为模型定义文件和 state_dict 文件,以及为模型提供服务可能需要的其他可选资产。 CLI 创建一个.mar文件,TorchServe 的服务器 CLI 使用该文件来提供模型。
5 - 运行 torchserve
在容器中运行:
1 | |
或者将 docker-compose.yml 添加一行 command:
1 | |
然后重新启动容器
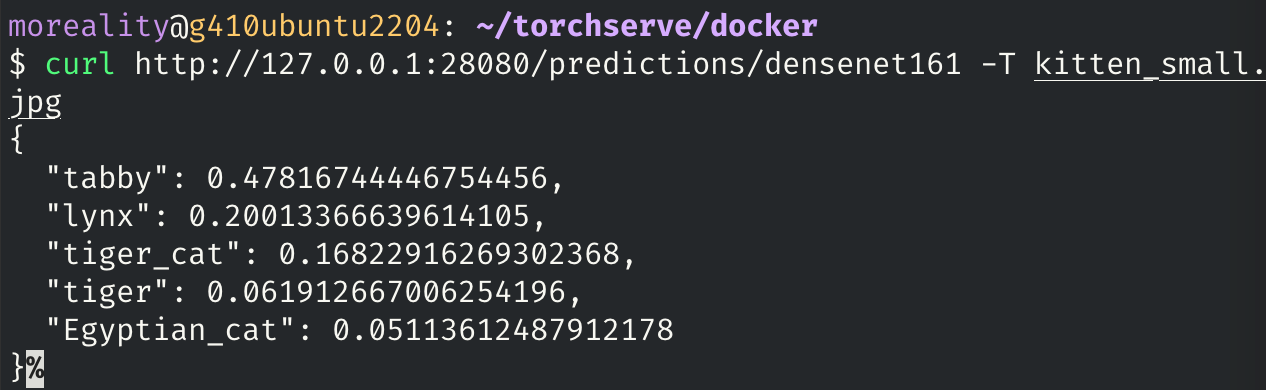
6 - 使用 REST api 进行验证
下载一张图片:
1 | |
用部署的 densenet161 模型进行预测:
1 | |
内存占用情况
在仅仅跑一个模型的情况下占用约 3.5GiB
